Plotters, Pantsers, and everyone in between…November 1st is just around the corner and that means we need to do a little outlining.
Don’t freak out!!
Let me give you my 8 step super simple process for outlining. And when I say outlining I mean a totally flexible, workable, fun plan that will help you write your first draft, expanding on the Beginning, Middle, and End that we created a few weeks ago.
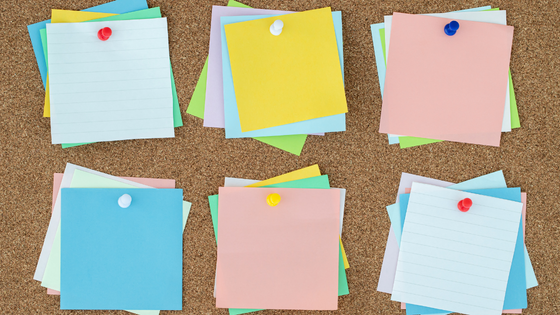
The fun part about this is you can do it many different ways. You can do it via index cards or post-it notes – very analog, very messy desk, wild and free and fun. You can do it via Scrivener or another writing app – very organized, a little structured and fun. OR you can do a mixture and use a digital app like Goodnotes on your iPad, digital sticky notes and your Apple pencil to do this process. Try a few and discover what feels most like YOU!
8 Steps To Outlining Your Novel
- Grab your card, note, or doc and write down your Beginning
- Grab another one and write down your Middle
- Finally, grab one more and write down your Ending
- Now, map out the steps that need to happen between your Beginning and MIddle – I like to do anywhere between 3 and 5 cards/notes
- Read through everything. Make sure things make sense, make sure any short hand you are using is written down somewhere so future you knows what past you means and once you are happy, move on to the next step
- Now, map out the steps that need to happen between your Middle and Ending. You can either do this start with the ending and work backwards or from your middle forward. Then, read through everything you’ve just written.
- TAKE A BREAK….seriously, before you do anything else, go take a break. Watch your favorite TV show or movie, eat something yummy, hang with friends and family, or take a nap. Leave it for at least 24 hours if you can.
- Read through the entire outline in one sitting and adjust as necessary. Are you missing plot points? Do things make sense? Do things need to be moved around a little?
Tips & Tricks
I like to write about 3-5 scenes between my Beginning and Middle and then again between my Middle and End, but this is not a hard and fast rule. If you have a ton of ideas and you want to get them all out of paper, great! If you are comfortable with less, leaving yourself lots of room to explore, that’s also great! This really is a flexible plan that makes you feel ready to write so whatever that looks like for you is going to be perfect!
Allow this process to be a little messy. No one needs to see this outline, so let yourself scribble, write in shorthand, use multiple colors, use numbers, etc. You can always import the notes into a digital system and organize it later.
If you are writing multiple points of view, make sure you know which cards are for which character. Either use different colors, different index cards, different types of fonts, etc. You can also just write the character name on top of the index card or post-it note if that’s easier. If you’re not sure yet, that’s fine – you can figure that out once you have your basic outline figured out.
Want to see my process with my own NaNo novel? Watch this week’s YouTube video above where I take you through the process using my digital notebook in GoodNotes.
Are you ready for National Novel Writing Month?
Would you like some accountability, support, and free Zoom writing sessions?
Then join my FREE group where I’ll be sending out weekly emails both Monday and Friday with writing exercises, tarot spreads, things to try and then check-in emails where you can reply and ask me any and all questions by clicking here.
